A blocker records who is holding a task up. Set one whenever work stops for someone else, so the board shows where the ball is instead of a card that just sits there.
Every blocker belongs to a category, Client or Internal, and that category is what the rest of the product reacts to. A new workspace starts with five: Client Review and Client Input on the client side, and Internal Review, Supervisor and QA / Finalization on the internal side.

Set a blocker
- Open the task. A panel opens on the right.
- In the Blocker section, open Waiting.
- Pick the blocker.
- Set the Assignee below it if one person owns the wait. Leave it on Blocker default to use the blocker’s own default person.
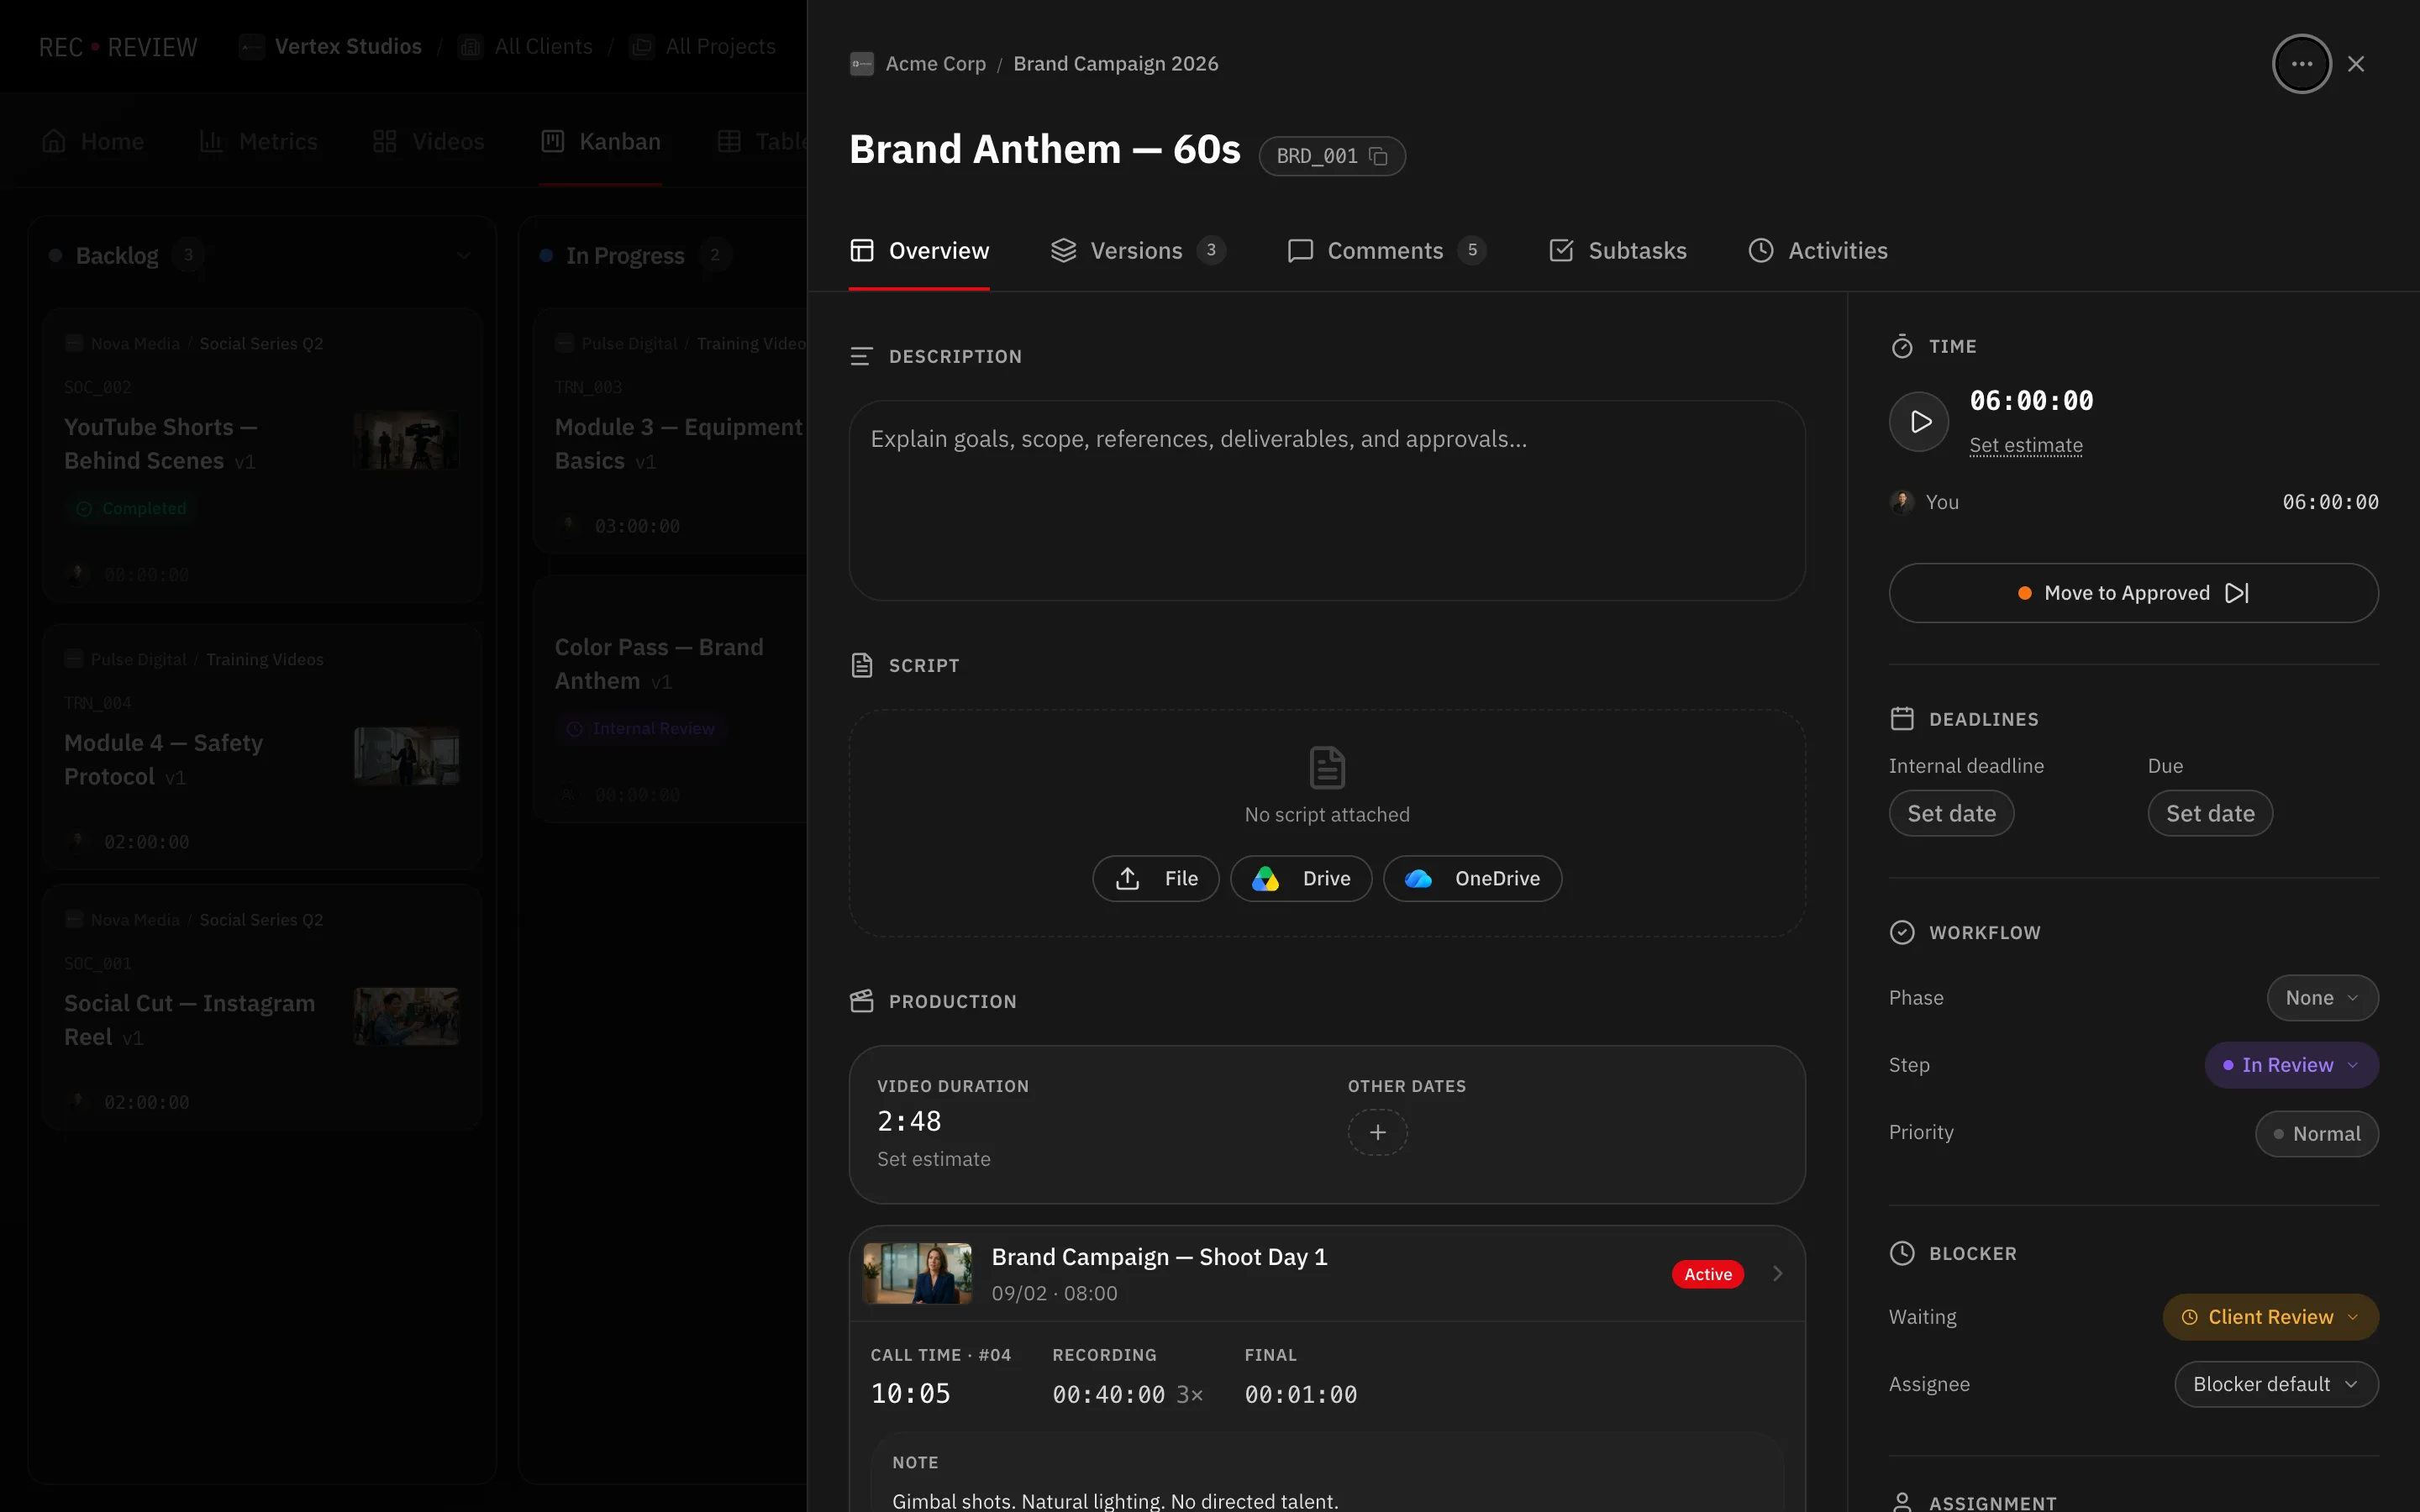
You can also set one when creating the task, from the actions bar after selecting several tasks, or by grouping the kanban columns by Waiting and dragging cards.
What changes when a task is blocked
- The card shows the blocker as a chip, and the table fills its Waiting column.
- With the default automations on, a client blocker moves the task to In review, marks it as needing review and shares the video with the client. An internal blocker moves it to In review only.
- The internal deadline clock pauses while a client blocker is active, and resumes when it clears. The date the client sees never moves.
- Removing a blocker returns the task to To start.
- Blockers marked client-visible appear to clients in the portal.
Add or edit a blocker
- Open the avatar menu and click Workspace Settings.
- Go to Workflow, then the Blockers tab.
- Under Add blocker, type a Name and choose the Category — Client or Internal.
- Add a Default assignee and a Color if you want, then click Add.
Your blockers are listed under Client Blockers and Internal Blockers. Ready-made sets live under Presets.
Warning: Applying a blocker preset replaces every blocker you already have. Check the list before you apply one.
What’s next
Blockers and deadlines work together — see how the clock pauses while you wait on the client in Set client and internal deadlines.